Keystone KSTAD70B Use and Care Manual
Browse online or download Use and Care Manual for Dehumidifiers Keystone KSTAD70B. Keystone KSTAD70B Use and Care Manual User Manual
- Page / 30
- Table of contents
- TROUBLESHOOTING
- BOOKMARKS
- KSTAD70B 1
- Producto 3
- MIDEA AMERICA CORPORATION 4
- PRODUCT REGISTRATION CENTER 4
- 11800 NW 100 ROAD STE 4 4
- MEDLEY FL 33178-1037 4
- CONTENTS 6
- SAFETY PRECAUTIONS 7
- Electrical Information 8
- Control pads 9
- Other features 10
- Accessories: 11
- OPERATING THE UNIT 12
- When using the unit 12
- Positioning the unit 12
- Removing the collected water 13
- CARE AND MAINTENANCE 14
- TROUBLESHOOTING TIPS 15
- DESHUMEDECEDOR 17
- CONTENIDOS 19
- PRECAUCIÓN 20
- ADVERTENCIA 20
- PRECAUCIONES DE SEGURIDAD 21
- Información eléctrica 21
- Teclas de control 22
- Otras características 23
- Accesorios: 24
- OPERACIÓN DE LA UNIDAD 25
- Cuando se utiliza la unidad 25
- Colocación de la unidad 25
- 2. Continuo drenaje 26
- CUIDADO Y MANTENIMIENTO 27
- Garantía de Deshumedecedor 29
- 1-866-646-4332 30
Summary of Contents
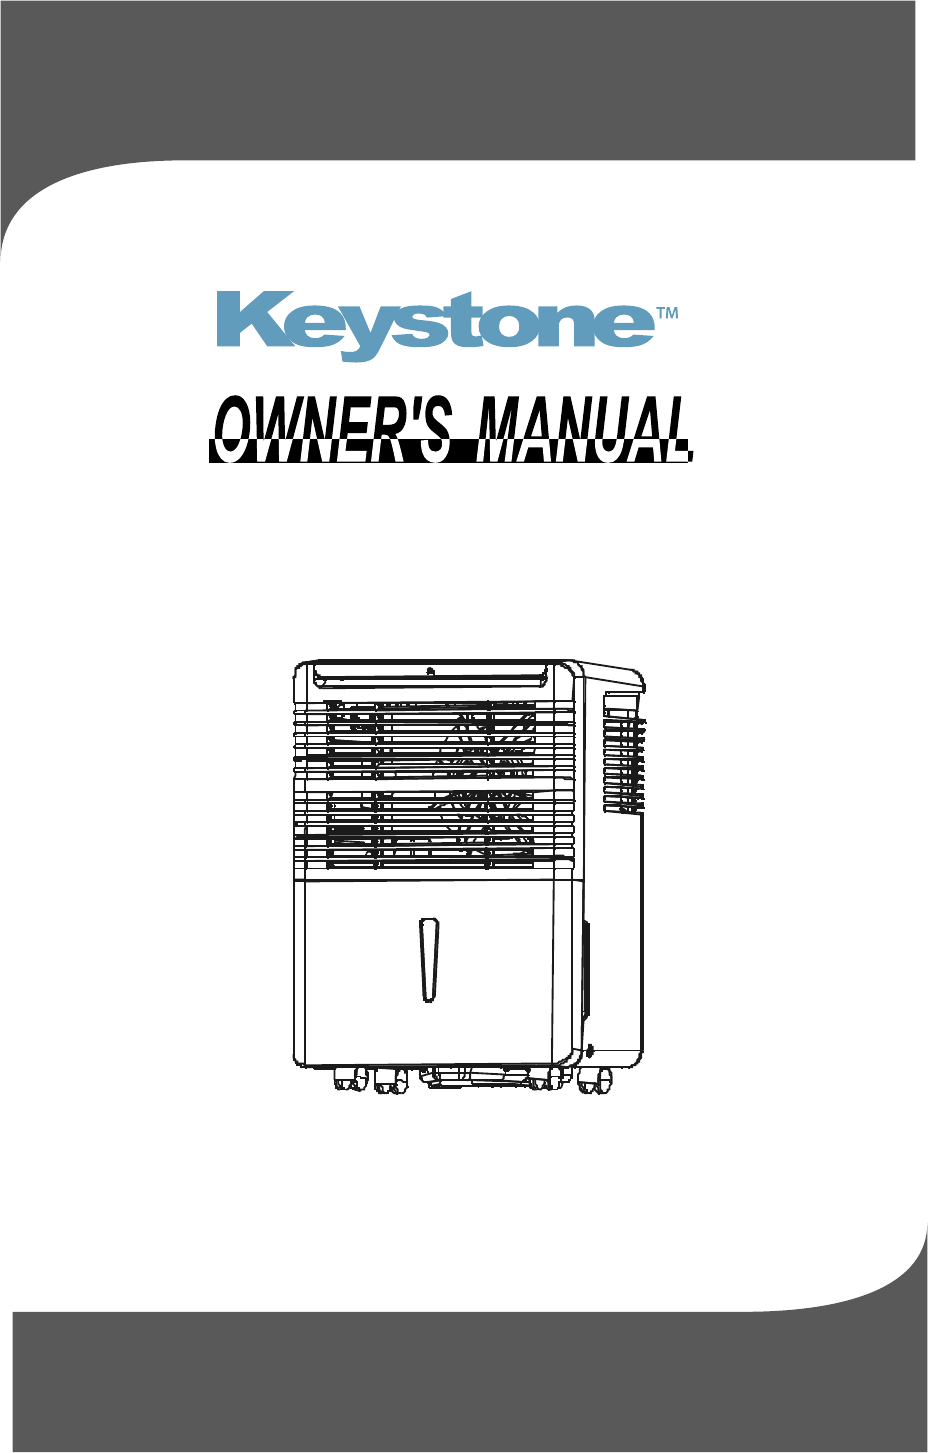
Before operating this product, please read theinstructions carefully and save this manual forfuture use.DEHUMIDIFIERModel:KSTAD70B
55CONTROL PADS ON THE DEHUMIDIFIEROther features Bucket Full LightGlows when the bucket is ready to be emptied, or when the bucket is removedor not r
66IDENTIFICATION OF PARTSPower Cord and plugDrain hose outletBand(Used only when storing the unit.)FrontRearAir outlet grilleCasterIdentification of p
77OPERATING THE UNITWhen using the unit When first using the dehumidifier, operate the unit continuously 24 hours.This unit is designed to operate wit
88Removing the collected water1. Pull out the bucket a little.2. Hold both sides of the bucket with even strength, and pull it out from the un
993. Clean the air filterRemove the filter every two weeks based on normal operating conditions.Remove the filter from the top of the unit (See.Fig.11
TROUBLESHOOTING TIPSBefore calling for service, review the chart below first yourself.ProblemWhat to checkUnit does not startMake sure the dehumidifie
Modelo:KSTAD70BDESHUMEDECEDORMANUAL DE INSTRUCCIÓN Para un funcionamiento eficaz, por favor lea las instrucciones cuidadosamente y guárdelas enun luga
OBSERVACIÓN SOCIABLE Prohibido desechar este aparato a la basura doméstica.Para su eliminación, existen varias posibilidades:Cuando utilizar este desh
1CONTENIDOSPRECAUCIONES DE SEGURIDADAdvertencia…………………………………………………………………...2Precaución…………………………………………………
2PRECAUCIONES DE SEGURIDADNo exceda la potencia nominalde la toma de corriente oel dispositivo de conexión.Desconecte la alimentación siruidos extraño
3La falta de flujo de aire puede provocar sobrecalentamiento e incendio.Puede causar descarga eléctrica o fallo del aparato.El funcionamiento sin filt
4TECLAS DE CONTROL DEL DESHUMIDIFICADORTeclas de control3Cuando usted presiona el botón para cambiar modos de operación, la unidad emitirá un sonido b
5TECLAS DE CONTROL DEL DESHUMIDIFICADOROtras característicasLuz indicadora de cubeta llena de aguaSe enciende cuando la cubeta esté lista para ser vac
6IDENTIFICACIÓN DE PARTESDelanteroTraseroIdentificación de partesFig.2Fig.31234512346123124536Panel de controlRejilla de entrada de aireRejilla salida
7OPERACIÓN DE LA UNIDAD Cuando se utiliza la unidadRuedecilla de mobiliario (en cuatro puntos de la parte inferior de la unidad) Si un deshumidifi
8Eliminación del agua recogida1. Retire la cubeta un poco.2. Sujete ambos lados de la cubeta con fuerza uniforme, y tire hacia fuera de la uni
93. Limpie el filtro de airePRECAUCIÓN:Fig. 11a 4. Cuando no utilizar la unidad durante largo periodoCUIDADO Y MANTENIMIENTOCuidado y limpieza del des
CONSEJOS PARA SOLUCIONAR PROBLEMAS Antes de llamar al servicio, primero revise la siguiente tabla por usted mismo.ProblemaQué comprobarLa unidad no se
Garantía de Deshumedecedor Su producto está protegido por esta garantía: Reparaciones bajo garantía deben ser obtenidos de Centro de Servicios al Cons
Producto
1-866-646-4332.
1 866 646 43321 866 646 4332MIDEA AMERICA CORPORATION PRODUCT REGISTRATION CENTER 11800 NW 100 ROAD STE 4 MEDLEY FL 33178-1037
SOCIABLE REMARKDISPOSAL: Do not dispose this product as unsorted municipal waste. Collectionof such waste separately for special treatment is necessar
11CONTENTSSAFETY PRECAUTIONSWarning ...
22SAFETY PRECAUTIONSDo not exceed the ratingof the power outlet or connection device.Do not modify power cordlength or share the outletwith other appl
33SAFETY PRECAUTIONSDo not cover the intake orexhaust openings withcloths or towels.A lack of air flow can lead to overheating and fire.Never insert
44CONTROL PADS ON THE DEHUMIDIFIERControl pads33When you push the button to changeoperation modes, the unit will make a beep sound to indicate that it
Comments to this Manuals
© 2020, manymanuals.com. All rights reserved. | 0.122 s |
 Manymanuals.com
 Manymanuals.de
 Manymanuals.fr
 Manymanuals.it
 Manymanuals.pl
 Manymanuals.cz
 Manymanuals.es
 Manymanuals-pt.com
…